Climbing Mt Baker for the First Time
Climbing Mt Baker: Amazing adventure lies just outside your door and such is the case for residents of the Pacific Northwest. A string of volcanic mountains run from Northern Washington down to California. Each one holds its own challenges that are attempted by thousands of worthy outdoor adventure seekers each year. The range of difficulty lies in the mountain and the route one is attempting. No matter what your skill level, there is bound to be a climb that will exhilarate your soul. The most recognizable of this chain are Mt. Baker, Mt Rainier, St Helens, Hood, Glacier Peak and Adams. Most of them are heavily glaciated and require a large degree of knowledge and awareness as every year they claim their share of worthy opponents.
For those just starting out, it’s best not to bite off more than you can chew. Mt Baker’s situated in the Northwest portion of Washington State and stands alone at 10,781 feet. Blanketed in glaciers, it is the most heavily glaciated mountain in the Cascade Range, and it offers the first time Mountaineer a real opportunity to experience the thrill of high altitude climbing. A word of caution, this is not something one just takes off and attempts on their own. Climbing Mt Baket requires a high level of physical fitness, a strong knowledge of traveling on glaciers, a team of climbers, and the right equipment to manage whatever situation you find yourself in. You also need the mental prowess to deal with extreme conditions and the ability to recognize when it just isn’t safe to continue. As world renown mountaineering climber, Ed Viesturs has coined “Getting to the top is optional. Getting down is mandatory.” This all sounds very daunting, but don’t park this idea yet. There are professional guiding companies such at Alpine Ascents International that offer a 3-day climb on Baker. The trip is much like a climbing school as you are taught the techniques of tackling a high altitude climb. Everything from mountaineering gear, roping, self-arrest, glacial traversing, and in some cases glacier rescue.
Once you have decided that Climbing Mt. Baker is your next conquest, you should begin to focus on your physical condition. You need to have good cardio, core and leg strength. You will be carrying a 60-pound pack to an altitude of around 7,000 feet, so you should start training at least 5 months in advance. One good way to get accustomed to such a load is to do stairs with a pack. Start with 20 pounds in the pack and gradually build up to your pack weight over time. This will get your back and shoulders used to the load as well as build core, cardio, and leg strength.
The right equipment is also a necessity, however, most of it can be rented from the guiding company. The one thing that should never be compromised on is your footwear. Nothing can spoil a trip like this more than a pair of boots that don’t fit properly. Blisters and Black Toe are very common for someone with improper fitting boots and can truly make the trip miserable. Mountaineering boots are not your standard hiking boots. They are designed to fit crampons and can be a two-boot system with a hard shell or a heavy leather and nylon single boot. If you are prone to getting cold feet you will likely do better with the hard shell as they tend to be much warmer. Another important tip is not to bring any items of clothing that are made from cotton. Cotton absorbs moisture and retains it. All your clothing should be wool (Merino wool is preferred) or a moister wicking synthetic. Wools and synthetics dry very quickly and thus prevent you from getting hypothermia and freezing to death. You can jump into your sleeping bag with a wet synthetic t-shirt on and in 30 minutes it will be dry, however, with cotton, it would take all night and likely still be damp in the morning. The saying on the mountain is “Cotton Kills.” As for all the other gear, the guiding company will provide a list of equipment needed and what can be rented apposed to purchasing. Or you can see a selection of the essential mountaineering gear here “click here”
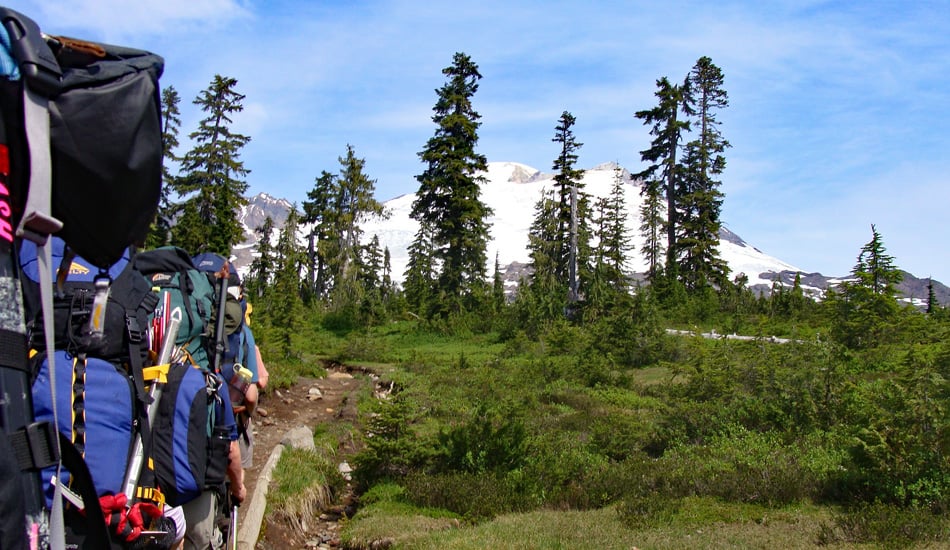
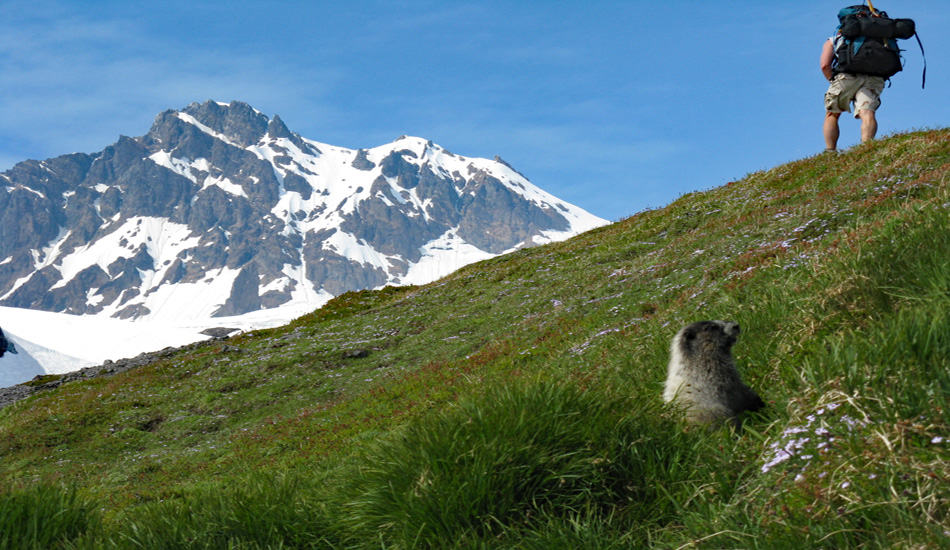
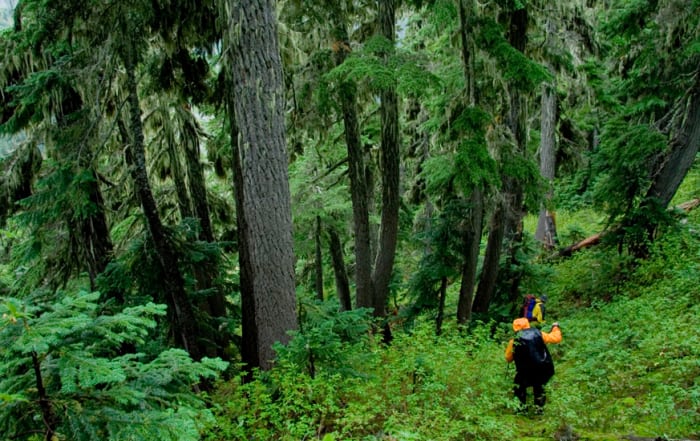
Alpine Ascents International takes a southern route up the Easton Glacier. It starts in an area known as Schreiber’s Meadow and for the first two hours, you make your way through old growth forests until you break the treeline and are awarded a spectacular view of Baker. From here you can see the immensity of the mountain and get a good view of the route you will be taking over the next two days. The next challenge is the Railway Grade Trail. This is a glacial moraine formed by the glacier pushing its way down the mountain thousands of years ago and then receding. This is a tricky trail when carrying a 60-pound pack. On one side you have a sheer drop into the glaciated valley of the moraine and on the other a steep grassy slope. The trail is narrow and it is recommended to have a good pair of trekking poles to provide you with stability as the trail runs very close to the edge of the Moraine. The snowfield begins at the end of the Railway Grade Trail. There is no need to rope up or fasten your crampons yet. By mid-day, the snow has softened and it makes for easy travel as long as the snow isn’t too deep. In another 900 vertical feet you are at your base camp, situated on a rock shelf at 6,500 feet, that may or may not be covered in snow depending on how early in the season your climb is.
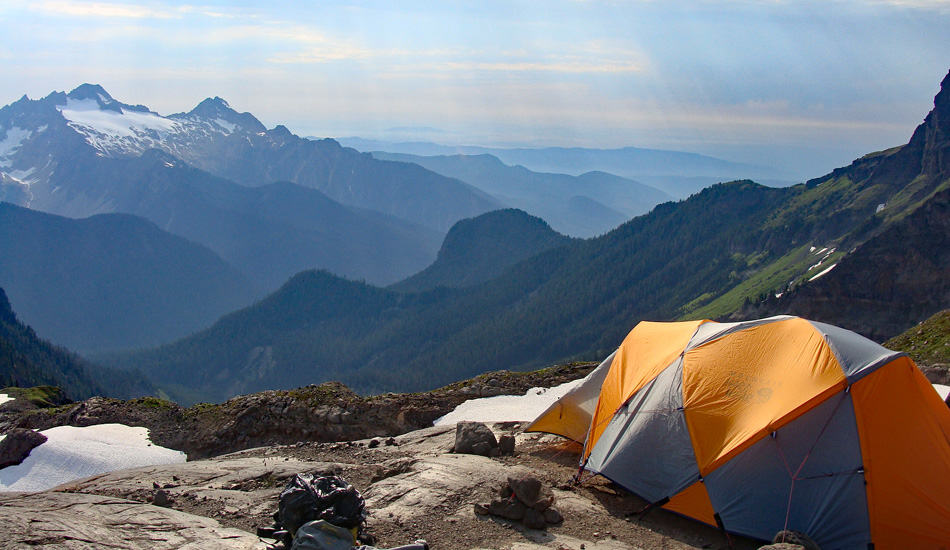
As you and your team members set up your tents, your guides begin the task of melting snow for drinking water and preparing dinner. You have spent the last 5 hours climbing over 2,700 vertical feet with 60 pounds on your back. You’re dehydrated and hungry, water and food is your number one priority. However, it becomes easy to forget this once you look around and realize you are in a very special place. With Mt. Baker to your back, the view to the south is spectacular. You have had a long hard day and the feeling of accomplishment sets in. Just getting here has not been an easy task and yet when you turn 180 degrees and look up at the majesty of Baker you realize you have only just begun.
The next day is a rest day, meant to allow your body to acclimatize to the altitude and to teach you the techniques used in mountaineering. Your guides are workhorses getting everything ready for the days training. These men and women are highly trained and look after every aspect of your safety. You can tell how much they love the remote high altitude by their enthusiasm and energy. Today they get to teach and that they’ll do. You’re going to learn how to fit your crampons, how to walk in your crampons, roping techniques for glacier travel, how to carry your ice ax, the various ways to self-arrest, maximizing your energy with the Rest Step, and other important aspects of mountaineering. You will rope up in teams of four and practice these techniques until you know them well. That’s what we call a rest day on the mountain. The guides will also go over what to expect the next day while on the climb. This day ends with a big meal of carbohydrates and to bed early as you will need plenty of rest if you’re going to succeed in your push for the summit.

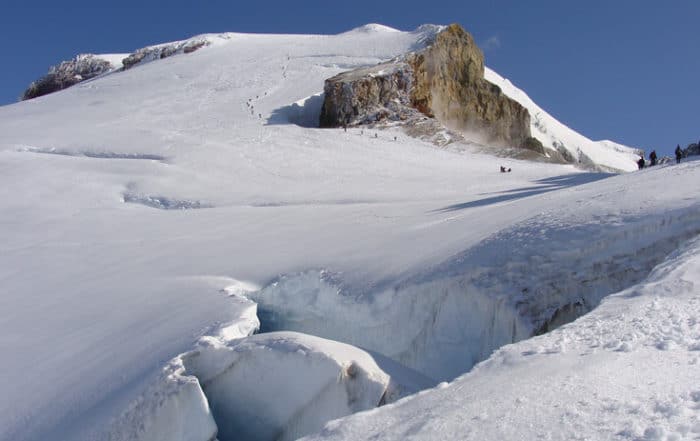
One of the biggest dangers on the climb is the crossing of crevasses on snow bridges. In order to minimize the risk you’re going to start your climb at 1:00 am. Starting this early means that you will be crossing snow bridges before the sun has had time to heat them up and soften them, thus minimizing the risk of it collapsing while someone is crossing it. This is going to be a long hard day because not only are you going to summit this 10,781-foot peak but you’re going to walk back to camp, break camp and hike back to Schreiber’s Meadow. The only saving grace is that you leave all the heavy gear at base camp and only pack a few essentials, reducing your pack weight to around 15 pounds. You’re now ready to start. You have your helmet and headlamp on, your crampons are firmly tightened to your boots, your pack has your down jacket, water, and snacks in it, and you are roped up with your teammates. It’s time to go.
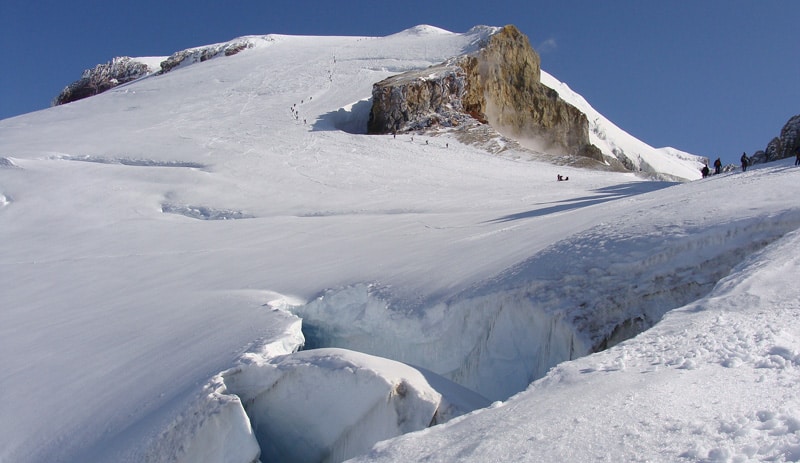
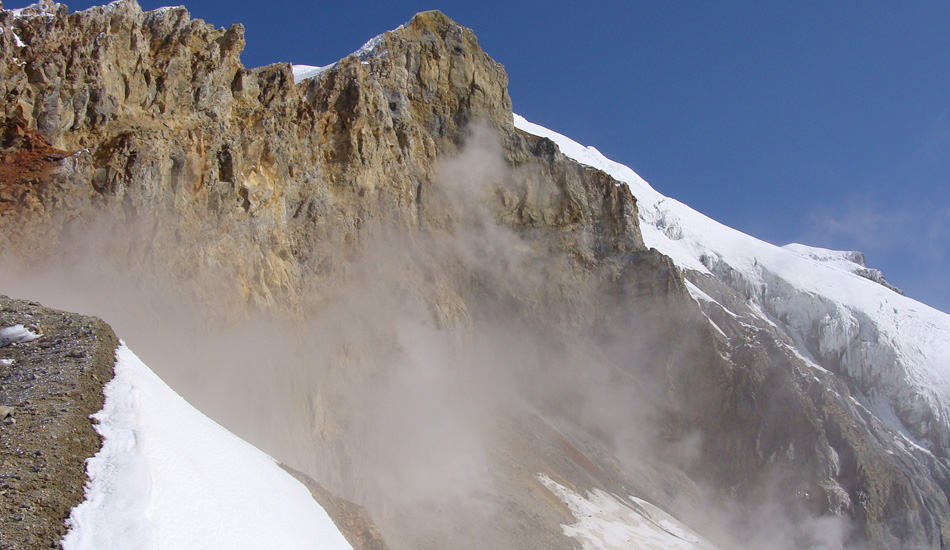
Be prepared to take a very slow pace stepping firmly into the footprints of climbers ahead of you. When walking in crampons it’s important not to walk on your toes. In order to get the full benefit of crampons on the ice, you need to walk flat footed and keep all the teeth of the crampon engaged. For the next 3 hours all, you will see is your feet, the snow around them, and occasionally when you glance up, the lights of your teammates ahead of you. If you’re lucky and have a clear sky with a full moon, the whole mountain will illuminate. Every hour you’ll stop for a break and quickly put your down jacket on to retain heat. You’ll drink water and force down a power bar as at these altitudes you will not feel hungry even though your body is starving for sugars. As the sun begins to rise the entire mountain turns to a faint shade of orange gold. Turning around reveals that you have come a long way from camp and crossed crevasses you didn’t even see. Just ahead is the Sherman Crater and you can smell the distinct odor of sulfur. Mount Baker has the second-most thermally active crater in the Cascade Range after Mount Saint Helens and has experienced several small eruptions over the past 300 years. However, it’s early volcanic history is checkered with much larger eruptions, such as the Mazama Park eruptive period some 6,600 years ago. Climbers today do not have much to worry about as it has not shown signs of activity in the last 130 years. You should also be aware that the rock around the Sherman Crater is heavily fractured and prone to collapse without warning. The crater also emits volcanic gasses which can be very harmful if breathed in. It is best to not get too close to its edge.
You are now at around 9,000 feet. At this altitude, you will begin to feel the effects of the lower oxygen levels. You will fatigue much sooner, you may get a headache, and have a feeling of nausea. The best way to overcome this is to go back down, but then what about the summit? Or you can start to take what is called, “Pressure Breaths” which involves taking deep and long intakes of air with a quicker forced exhale. This fills the deeper portions of your lungs with air allowing for your blood to collect more oxygen. The best thing to remember is to take a pressure breath every three or four steps and this should keep you from feeling the effects of the higher altitude.
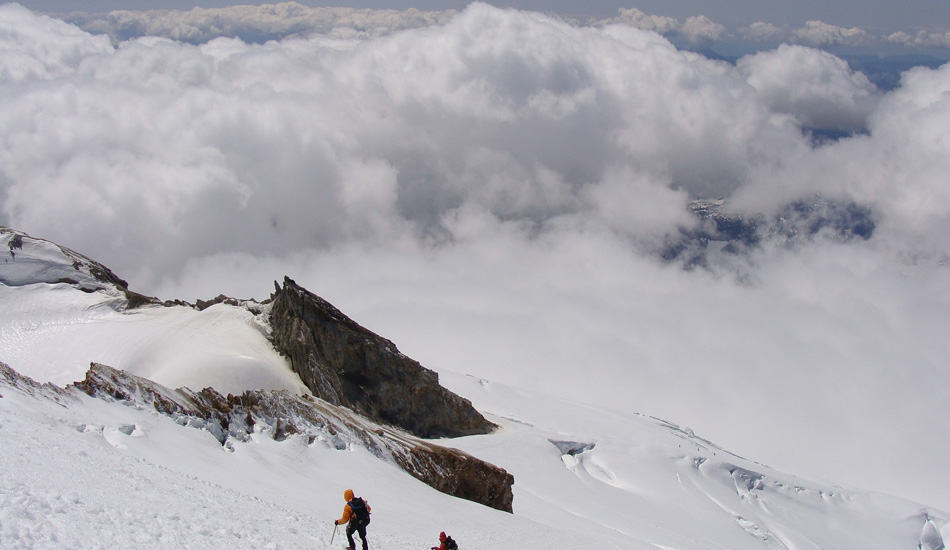
This last stretch of climbing is the steepest and the hardest when it comes to keeping your mind on what you are here to do. You will feel like turning around – but stay focused, use the Rest Step you learned, keep a slow pace, and breathe. You will push through the burning in your legs and feeling of gasping for air because just ahead you can see the rounding of the upper dome as the slope begins to level out. You have now reached the top of Mt. Baker but not the summit.

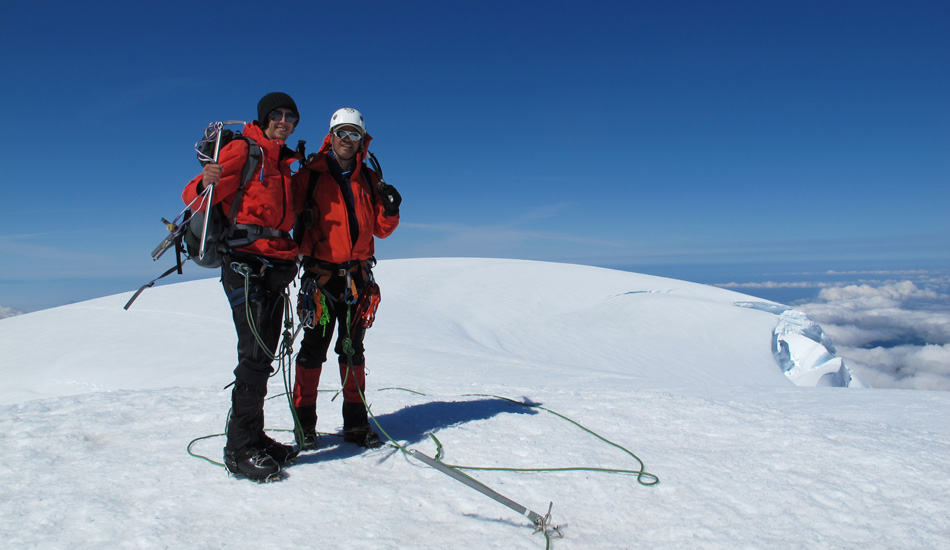
This beautiful snow covered cap on the mountain stretches out to the north and to the east. From here you can see the Rocky Mountains of Canada and on a clear day, you can see Mt. Rainier to the south. You are well above the clouds and all the surrounding mountain peaks. The summit is to the east of you and it’s a small final slope that has to be done in order to have the privilege of saying you reached the summit of Mt. Baker. By now the sun is up and you have a 360-degree view of the Pacific Northwest. You have spent the past 5 hours concentrating on every step, making sure the rope doesn’t have too much slack in it, and wondering “how much further”.
When at the summit your climb is far from being finished. You now have to get down by the same route from which you came up. However, you’re fighting fatigue and if you’re not careful things can go very bad. Most climbing accidents happen on the way down. Climbers are exhausted, moving faster and when this happens people get sloppy. The most common incident is when a climber accidentally gets their crampon caught on the leg of their pants or gaiters, lose their balance and fall. This can lead to a much more serious incident if the teammates aren’t prepared for the fall. That is why “Self Arrest” is taught and practiced. By this time of day, the sun has had enough time to heat up and soften the snow of the snow bridges, making them more vulnerable to collapse. Also, the sun reflecting off the snow can cause serious skin burns if you haven’t been using sunscreen.
It will take you around three hours to get back to your base camp, another hour to have something to eat and get camp packed up. By the time you get back to Schreiber’s Meadow you have been on the go for 12 hours and you are completely exhausted. You have taken about 300 pictures, crossed icy crevasses that are over 100 feet deep, stood on the rim of a volcanic crater, and reached the summit of one of Washington’s highest peaks. You have challenged yourself physically and mentally. You have experienced first hand what it’s like in the world of mountaineering.
Written by Mark Schiefner
Photographs by Mark Schiefner
Recent Posts
Fall Hiking Gear
The Best in 2020 Fall Hiking Gear Looking for information on fall hiking gear? No offense to the other seasons, but Autumn is the best time to hike throughout much of the Northern [...]
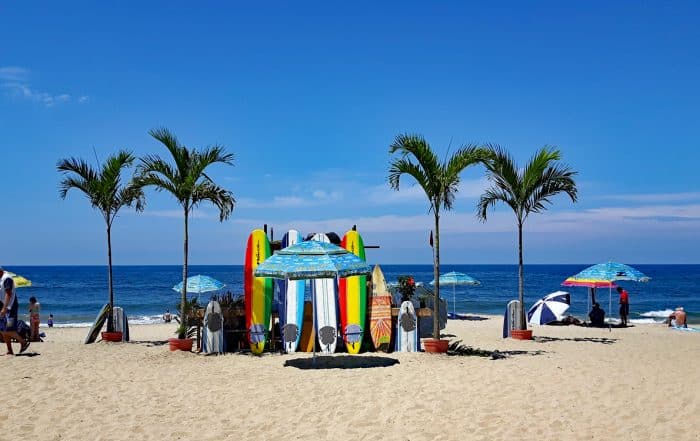
Sayulita Vacation
Crimson Skies of Sayulita If you are looking for an off-the-beaten-path travel destination, a great place to surf, reflect, rejuvenate, and soak up the sun then look no further than a Sayulita Vacation. This [...]
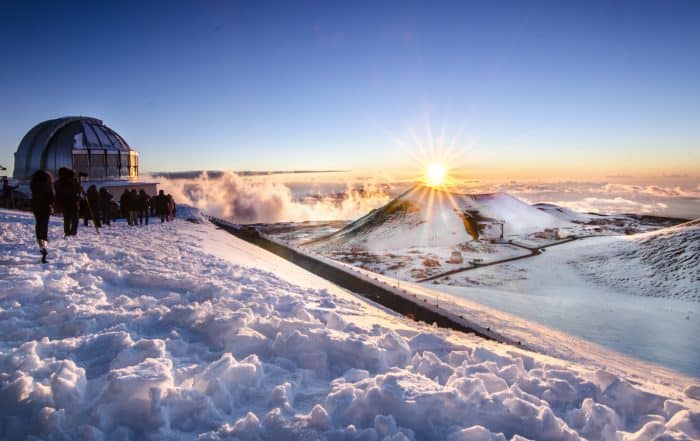
Big Island Hawaii Things To Do
Big Island Hawaii Things To Do, A Journey of Beauty and Contrast The big island Hawaii has a history datable to 1,500 years ago when a small fleet of canoes landed on the island's [...]
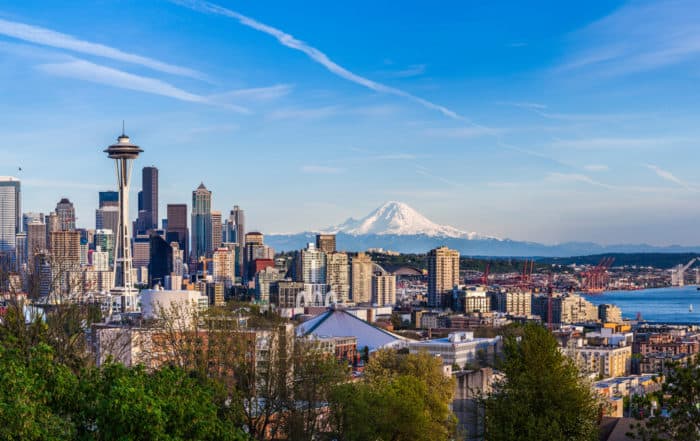
Climbing Mount Rainier
Climbing Mount Rainier Climbing Mount Rainier: At 14,411 feet, Mount Rainier—or Tahoma, as regional American Indian tribes called it—falls a little short of the loftiest Sierra Nevada and Southern Rocky Mountain peaks. You can [...]
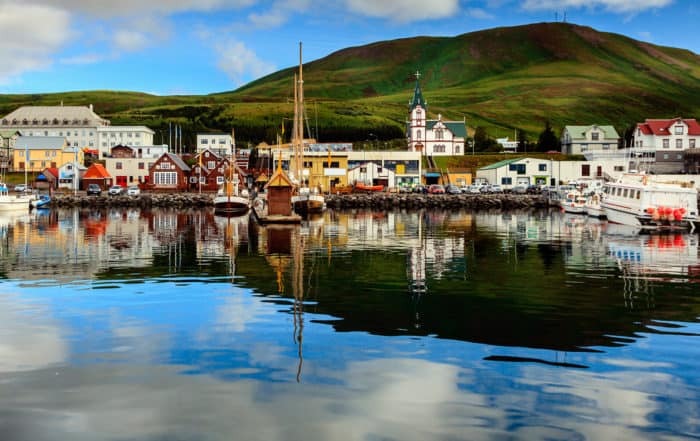
Iceland Adventure Travel
Iceland — The land of Fire and Ice Iceland Adventure Travel; Iceland is home to just under 325,000 people who live in a habitable area of 103,000 square kilometers. The largest city is the [...]
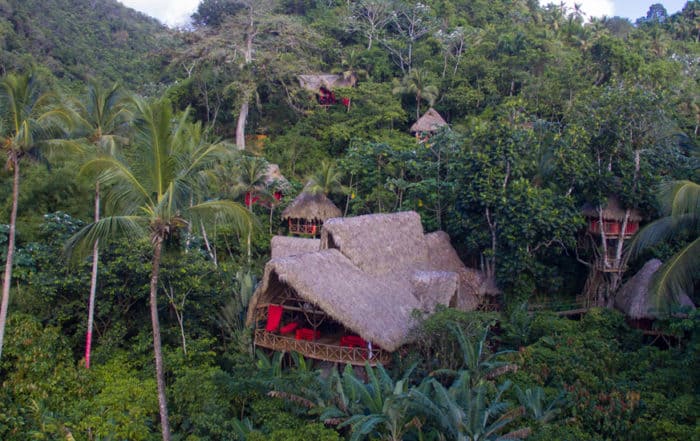
Dominican Republic Treehouse Adventure
The Dominican Republic Treehouse Adventure in the Caribbean PRICE FOR 2 PEOPLE $597.00 (Regularly [...]
Climbing Mt Baker
Climbing Mt Baker for the First Time Climbing Mt Baker: Amazing adventure lies just outside your door and such is the case for residents of the Pacific Northwest. A string [...]
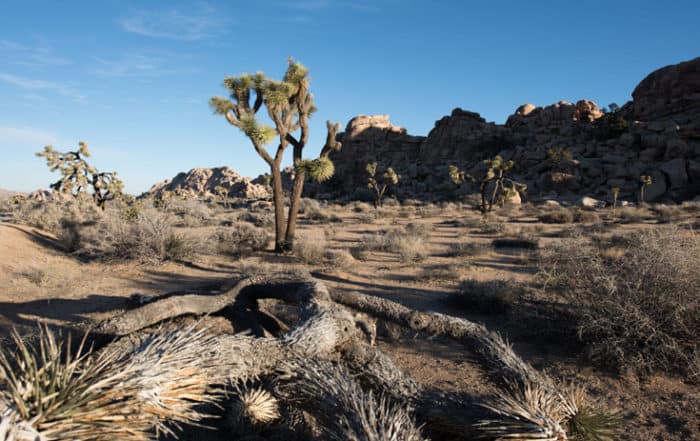
Experiencing Joshua Tree National Park
Experiencing Joshua Tree National Park A few years ago while on vacation in Palm Desert, we made the decision to go for a drive and explore the surrounding area outside [...]
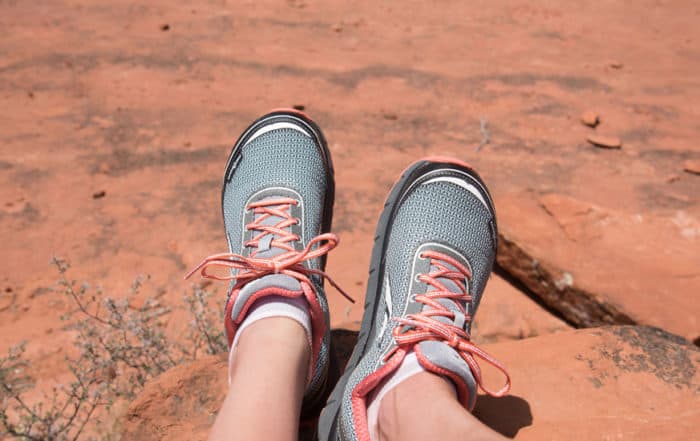
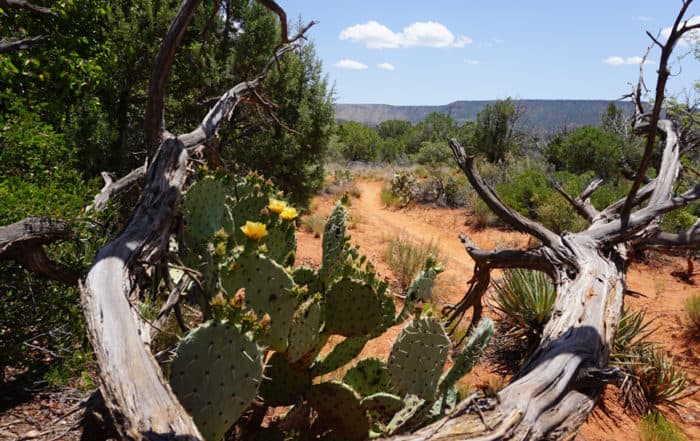
Hiking Trail Shoes
Hiking & Trail Shoes - Earth Gear Review Altra Trail Shoes Prior to our trip to Sedona we were approached by Altra Running and offered shoes to test on the desert trails [...]
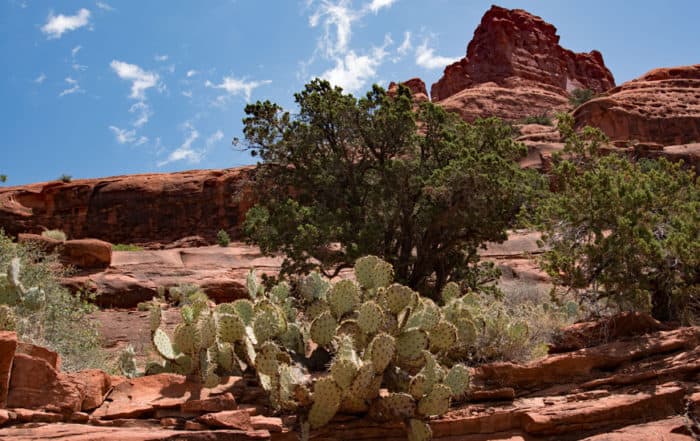
Sedona Arizona
The Magic of Sedona Arizona We recently traveled to Sedona Arizona to experience first-hand the magical splendor of this beautiful community. We booked our flight and accommodations through and were extremely pleased with our choice [...]
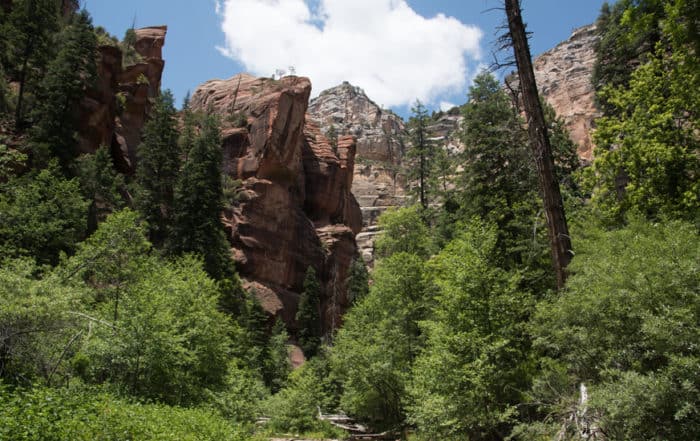
Sedona Hiking West Fork Trail
Sedona Hiking - West Fork Trail Situated in Oak Creek Canyon 10.5 miles north of Sedona along SR 89A, The West Fork Trail is one of the most beautiful Sedona hiking trails. [...]
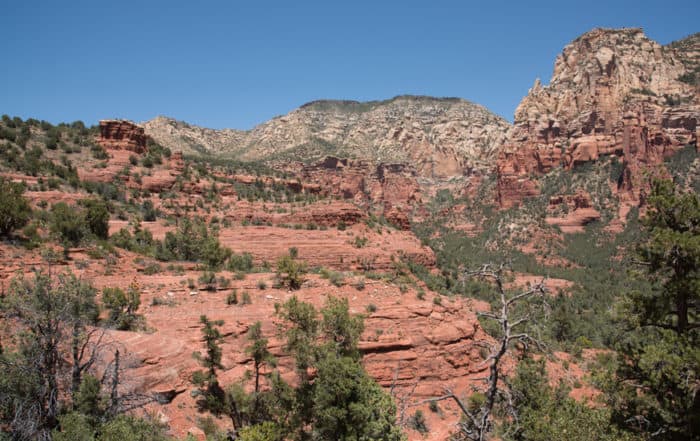
Sedona AZ Courthouse Butte Loop
Sedona AZ Hiking - Courthouse Butte Loop Near the Village of Oak Creek, the Courthouse Butte Loop is a pleasant 4.2 mile trail circling Bell Rock and Courthouse Butte. It is best to [...]
Hiking Sedona Brins Mesa Outlook Trail
Hiking Sedona - Brins Mesa Overlook Trail If your looking to get out and turn your hike into a leg burning exercise, then you have to take the Brins Mesa Overlook Trail. The [...]
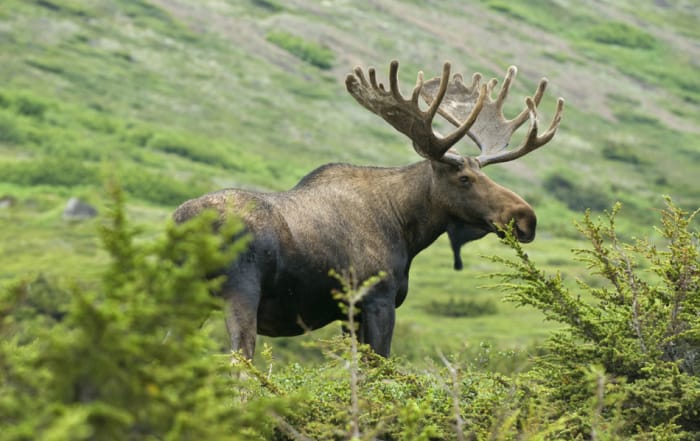
Wildlife Safety Hiking
Wildlife Safety While On The Trail Bears aren’t the only large animals hikers in North America need to be cognizant of for their own safety. Here are some tips on pursuing good neighborly relations [...]
Bushwacking
Bushwacking Your Way Through the Wilderness Bushwhacking reaps many rewards. Cross-country ramblers often stumble upon stirring sights few human eyes have laid eyes upon: hidden waterfalls, secret wildflower glades, unknown old-growth groves, remote vantages [...]

Cabo San Lucas
Explore Cabo San Lucas Mexico Cabo San Lucas on the southern tip of Baja California is one of the most lauded beach getaways in the Western Hemisphere. Famed for its nonstop nightlife, its heaven-minted [...]
Leave A Comment